A leaking threaded pipe can cause significant damage to your home if left unattended. Fortunately, fixing this issue is often a simple task that you can handle yourself with basic tools and materials. In this article, we’ll guide you through the steps to fix a leaking threaded pipe, ensuring a secure and long-lasting repair.
Step 1: Gather the Necessary Tools and Materials
Before starting the repair, make sure you have the following tools and materials on hand:
- Pipe wrench or adjustable wrench
- Teflon tape (plumber’s tape)
- Pipe sealant (pipe dope)
- Replacement pipe or fittings (if necessary)
- Rags or towels
- Bucket (to catch any excess water)
Step 2: Turn Off the Water Supply
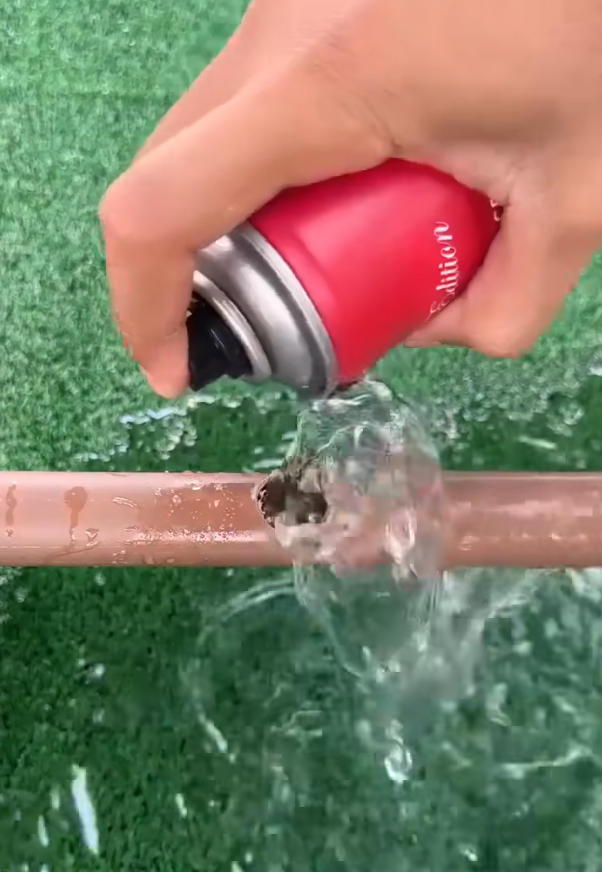
The first step in fixing any pipe leak is to turn off the water supply to the affected area. This will prevent water from flowing through the pipe while you make the repair. You can do this by closing the main shutoff valve or the specific valve that controls water flow to that pipe.
Step 3: Drain the Pipe
Once the water supply is off, open the faucet or valve closest to the leak to drain any remaining water from the pipe. Place a bucket or rags under the leak to catch any excess water that may escape during the process.
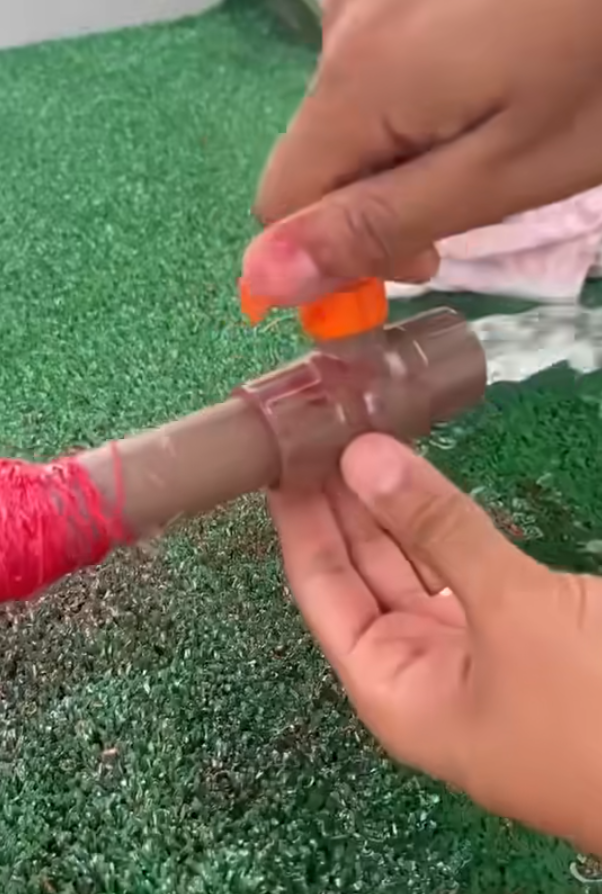
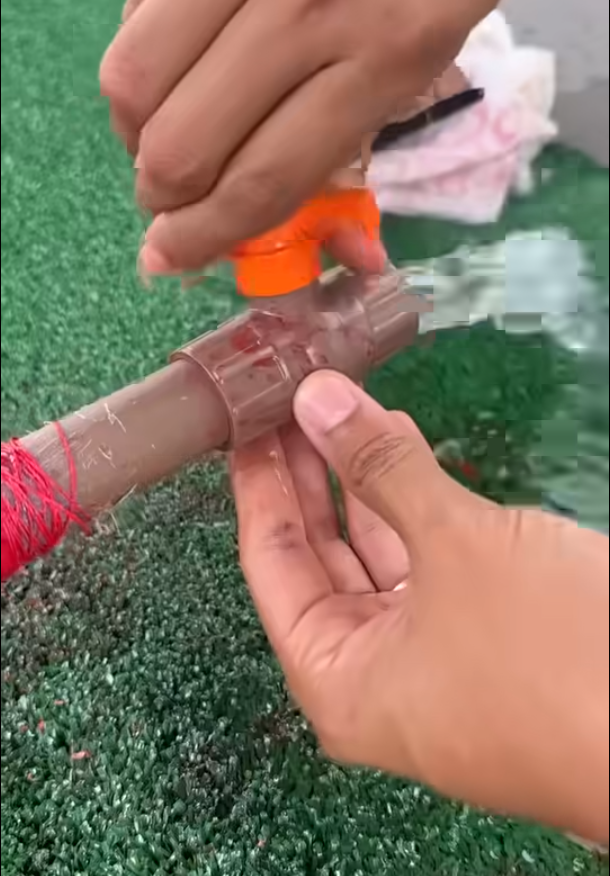
Step 4: Loosen the Leaking Joint
Using a pipe wrench or adjustable wrench, carefully loosen the threaded connection where the leak is occurring. Turn the wrench counterclockwise to unscrew the fitting. If the pipe is difficult to loosen, apply a little more pressure but be cautious not to damage the pipe.
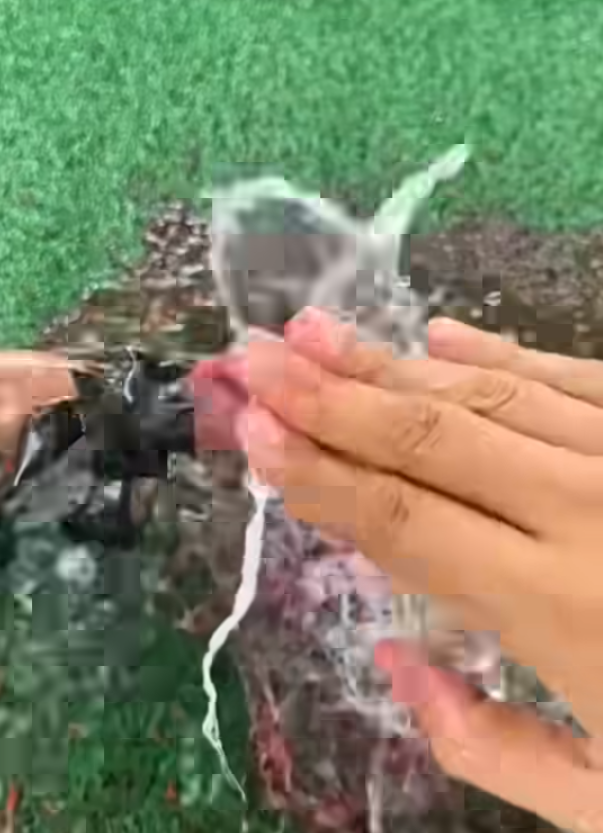
Step 5: Clean the Threads
After removing the fitting or pipe, clean the threads on both the male and female sides of the joint. Use a rag to wipe away any debris, old sealant, or corrosion. Cleaning the threads ensures that the new sealant will adhere properly and create a secure seal.
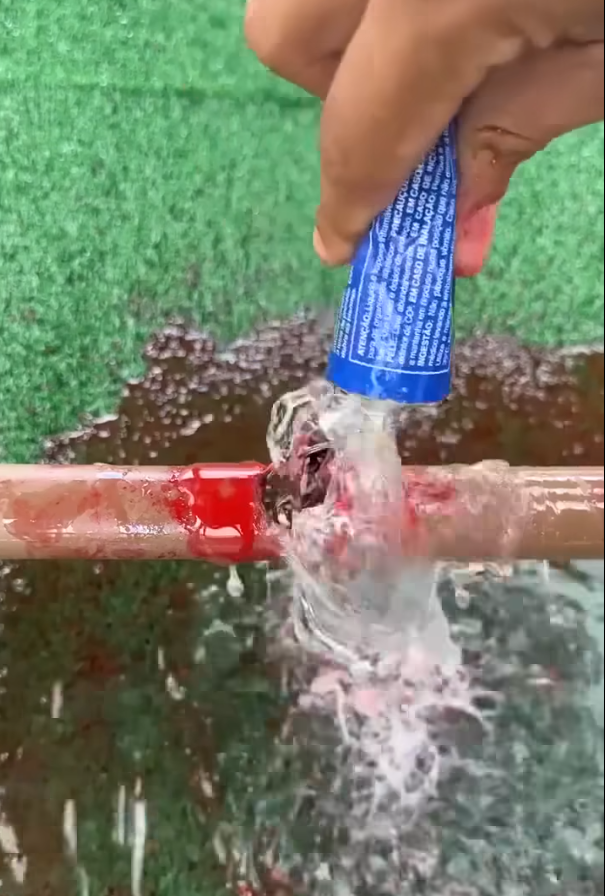
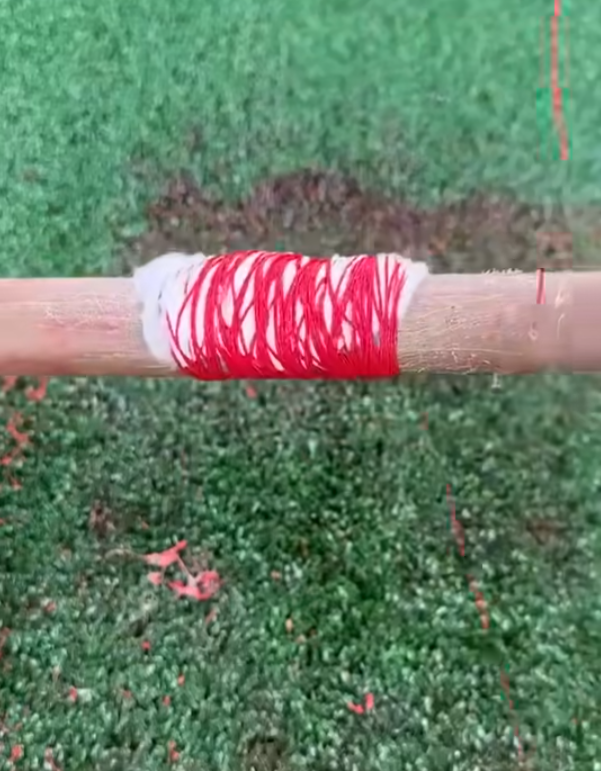
Step 6: Apply Teflon Tape and Pipe Sealant
To prevent future leaks, apply Teflon tape (also known as plumber’s tape) to the male threads of the pipe. Wrap the tape around the threads in a clockwise direction, overlapping each layer by about half the width of the tape. Typically, 3-5 wraps of tape are sufficient.
Next, apply pipe sealant (pipe dope) over the Teflon tape. The combination of Teflon tape and sealant provides a robust and watertight seal.

Step 7: Reassemble the Pipe
Once the threads are properly taped and sealed, screw the fitting or pipe back into place. Tighten it with the pipe wrench, but be careful not to overtighten, as this can strip the threads or crack the fitting.
Step 8: Turn the Water Back On
After the pipe is securely reassembled, turn the water supply back on. Slowly open the valve and check for any signs of leaks. If water begins to leak again, tighten the joint a bit more. If the leak persists, you may need to disassemble the pipe and reapply the Teflon tape and sealant.
Step 9: Inspect and Monitor
Finally, inspect the repaired area for any further leaks. If everything appears secure, monitor the pipe over the next few days to ensure that the repair holds.
When to Call a Professional
If you encounter a particularly stubborn leak, damaged pipe threads, or if the pipe continues to leak despite multiple attempts to fix it, it may be time to call a professional plumber. A licensed plumber can assess the situation and recommend more extensive repairs if necessary.
Conclusion
Fixing a leaking threaded pipe is a relatively simple process that can save you from water damage and high repair costs. By following these steps, you can quickly stop the leak and restore your plumbing system to proper working order. With the right tools, materials, and a little patience, you can tackle this common household issue on your own.